
(9 am. – promoted by ek hornbeck)
The fall apple crop is in and so jelly has been on my mind. We shall cover jams and other preserves as well, but jellymaking takes more technique, so more detail will be given to jelly. If you can make jelly well, the others are easy. Jellymaking is not really hard, but there are a couple of rules that have to be followed.
Jelly and other preserves thicken upon cooking because of the interaction between pectin (found in many fruits), sugar, acid, and water. Pectin is one of the soluble fibers that get so much attention as part of a balanced diet, even though it contributes few nutrients. Its main purpose in the diet is to help regulate the metabolism in the gut, and soluble fiber has been shown to be beneficial for blood pressure and blood lipid regulation.
First of all, thanks to Cordelia for inviting me to guest host this week’s installment of What’s for Dinner. Second, for me it was home made tuna salad, a very underrated food. Made with little mayonnaise and lots of celery and onions, it is really pretty nutritious, especially when served on toast with thinly sliced tomato and fresh lettuce.
Pectin is a carbohydrate, composed of a long chain of mostly glacturonic acid bound by “1,4” saccharide bonds with “gaps” here and there where the glacturonic acid is replaced by the sugar rhamnose. Off of these rhamnose residues come branched sidechains of more sugars, giving a three dimensional structure that is very complex. These molecules are pretty large, often with over 1000 subunits. There are two main types of pectin, the so called highly methylated and the low methylated ones. As pectin is extracted from fruits, some of the methyl groups are hydrolyzed off, so as a general rule the less time cooking the better the gelling qualities.
To form a good jelly, the sugar content of the mix needs to be around 60 to 65 per cent, with about 1% or so of pectin and the remainder water, acid, flavor, and color. When boiled to the jelly point, the material will set to the familiar jelly as it cools. It is not really essential to get it as hot as that, and most commercial jellies are made in vacuum vessels and rarely get hotter than around 140 degrees F. This is not feasible for home jellymaking, however. Interestingly, the sugar beet has a peculiar type of pectin in it that interferes with “normal” pectin and makes batches of jelly fail. In years past, only cane sugar could be used successfully, but the refining process for beet sugar is much better now and it is not a problem any longer. The pH of a good jelly is around 3, and so the juice to make it is pretty tart for a good jelly.
It is possible to make jelly from fruit low in pectin, but you have to add pectin to it either in the form of something like Sure-Jell or by combining low pectin juice with a higher pectin juice. What is the pectin doing in the fruit to begin with, you might ask. It turns out that pectin is one of the components of the cell wall that gives the fruit its firmness. As a general rule, hard fruits like apples have quite a bit of pectin in them, and soft ones like peaches have little. Oddly enough, very high concentrations of pectin are found in citrus peel, and is obtained as a byproduct of the orange juice industry. There is very little waste in this industry. Of course, the juice is the primary product, but the oil from the peel is skimmed off for the “orange” cleaning products, since this oil dissolves grease readily. The remaining peel is extracted to make commercial pectin.
Compliant with the rule that harder fruits tend to contain more pectin, underripe fruit normally has more pectin than fully ripe fruit. This is one the very few exceptions to the rule that only the most prime materials should be home canned. To make good jelly, ideally some of the fruit should be underripe.
Let us give a real example of making jelly. My neighbors across the street wanted some dried apples, so Helen bought a couple of bushels of tart, firm, red apples. They appeared to be Jonagolds, a good dual use apple. I lent them my dehydrator in return for the parings and cores. It turns out that these normally discarded parts contain more pectin and color than the fruit itself, and so make superb jelly.
I took the parings and cores, removed the stems from the cores (to make them easier to run through the food mill), and just barely covered them with water in a stainless steel vessel. I brought them to the boil, then lowered the heat to a simmer. Normally, I would have let them simmer for about 30 minutes, but I wanted the cores to soften to make apple butter, so I simmered them for about two hours.
There are a few rules that you need to abide by when working with jelly. First, use only glass, plastic, stainless steel, enamel ware with no chips, or coated aluminum. Iron darkens all jelly, and apples, with a considerable tannin content, blacken rapidly in contact with iron. Aluminum is soluble in the high acid juice and should not be used for direct contact of more than a few seconds (my canning funnel is aluminum, but it is used for only a few seconds at a time). Wooden spoons are OK, although plastic ones are too. One critical factor is to make jelly in small batches (jams and other preserves are usually more forgiving, and can be made in larger batches). With a normal home range, the absolute maximum batch size that I recommend is no more than eight cups of juice to begin, which will make about six cups, give or take, of jelly.
By the way, apples darken rapidly when pared, so always add two, 500 mg Vitamin C tablets, crushed, to the water in which the fruit and peels are going. This is the active ingredient in FruitFresh, and is much less expensive to use. Here are some pictures:
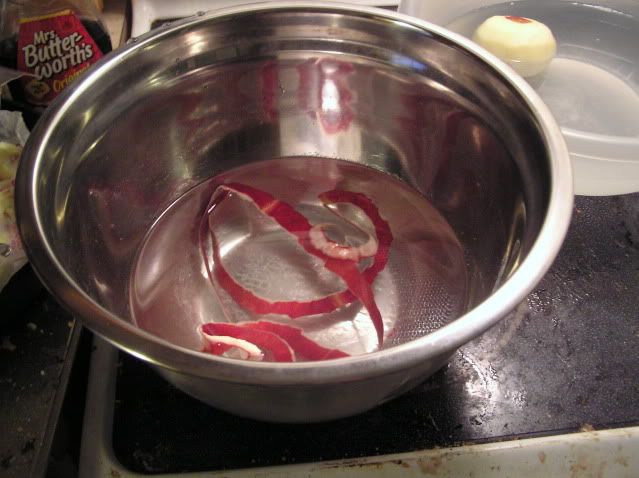
Apple parings in water and Vitamin C
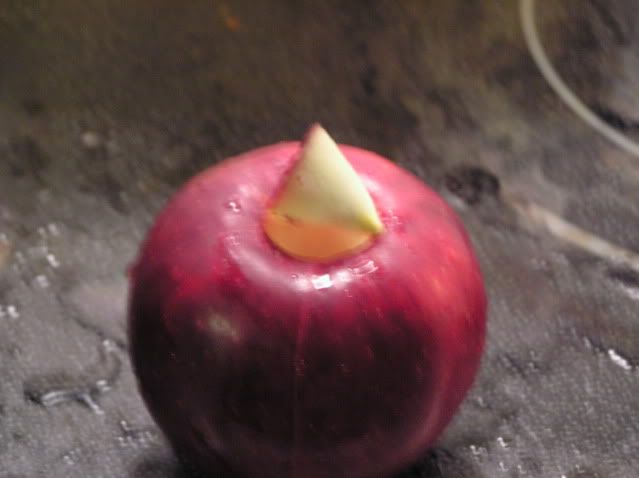
Stem removal
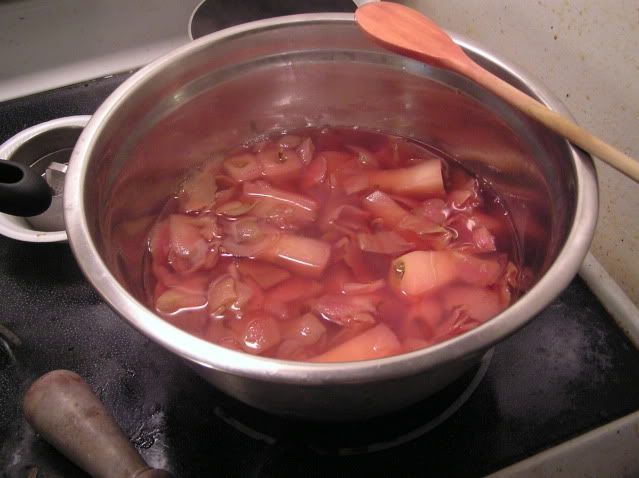
Cooked mix before straining

Cooked parings and cores after straining
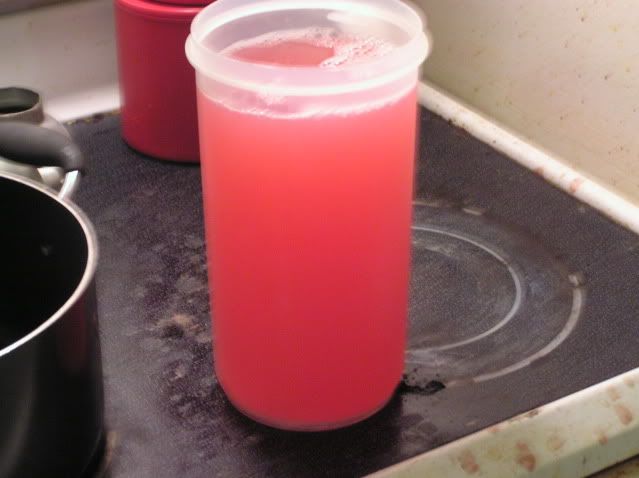
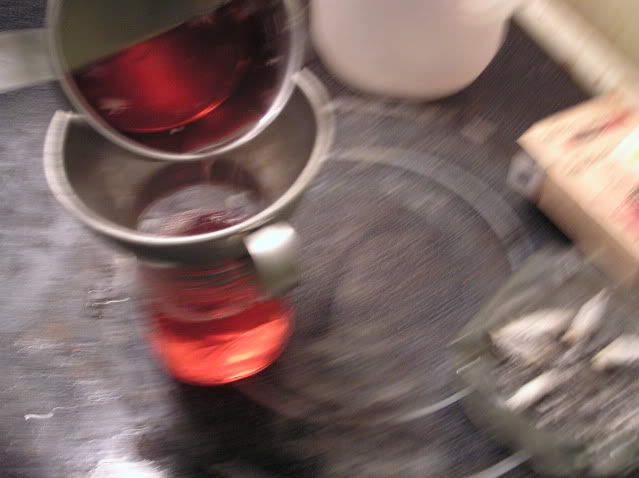
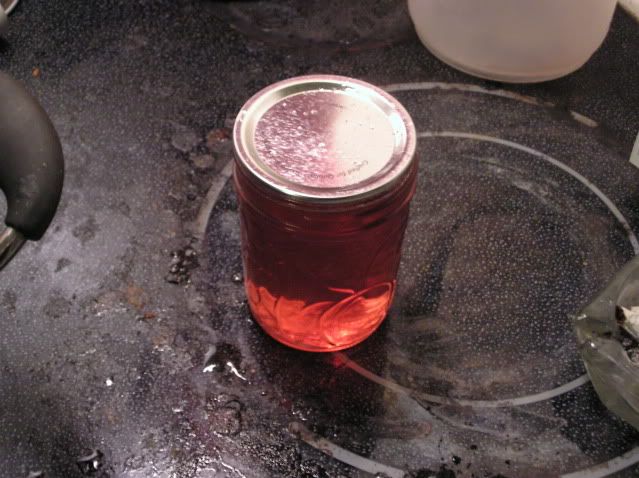
Magic Juice before settling
After I had finished simmering the parings and cores, I allowed the mix to cool slightly, then strained it through a clean cotton cloth (you need a closer weave than cheesecloth, I use cloth baby diapers bought especially for this purpose). The residue in the cloth goes into the food mill for apple butter, and the liquid that remains is what I call “Magic Juice”, a concentrated pectin extract that can be used as-is or mixed half and half with other fruit juices less rich in pectin to jell them. Dark juices, like grape or blackberry, work well, since their rich color dominates. Apple mixes well with other juices, because its mild flavor allows bolder fruit flavors to dominate as well. You can also freeze or process the Magic Juice in a water bath for later use.
I used the juice as-is for jelly. For each cup of juice, add 3/4 cup of sugar. It seems almost counterintuitive, but for juices with lower pectin content, like when Magic Juice is mixed half and half with blackberry juice, only 1/2 cup of sugar per cup of juice should be added. The reason is that to get to 60 to 65 per cent sugar, more water has to be boiled away, thus increasing the pectin content of the final product to that it will jell.
For sparkling clear jelly, allow the juice to sit in the refrigerator overnight. I used one liter club soda bottles. This allows and residue that passes through the cloth to settle to the bottom of the bottle. Storing the bottles on their sides allows you to decant the juice without disturbing the sediment much. By the way, to make grape jelly it is essential to allow the juice to stand in the refrigerator overnight. This is unique to grape juice. It contains potassium tartrate, and lots of it, and this material is not very soluble in the final jelly and often makes it gritty.
Place the juice and the sugar in a stockpot or some such, the larger the better, and bring to the boil, stirring until the sugar is dissolved to that it does not scorch on the bottom. Jelly can be made in fairly thin cookware since it is very fluid whilst cooking. The trick is lots of surface area relative to volume to boil off the excess water. This is one of the reasons that eight cups is the maximum amount that I recommend trying to process.
You will see large bubbles from the boiling juice, and smaller bubbles of a foam that forms. Skim off as much of this foam as possible for the clearest jelly. The easy way is to turn down the heat for a minute. The bubbles from cooking collapse, whilst the foam does not and can be skimmed easily.
Now, you need to think about the ultimate use for the jelly. Are you wanting to unmold it on a platter or smear it on soft bread? If you want to have it hold its shape when unmolded, cook it a little longer than if you want it soft enough to spread without tearing the bread. Personally, I like my jelly relatively stiff, and solve the bread tearing problem by using a spoon to remove thin layers of jelly from the jar and place them on the bread rather than smearing it, but that is my personal preference.
Before you heat the juice, you have some preparatory work first. Select the jars that you want to fill and wash them. In the old days the recommendation was to boil them to sterilize them, but I have never had a failure by washing them in very hot water with dishwashing liquid, then rinsing them with scalding water. Since I have no small children here, I keep my hot tap water dangerously hot, and it does the job. DO NOT dry the jars. Regardless how clean that you think that your drying rag is, it has bacteria and mold spores in it. Just invert them and let them dry.
For jelly, you need dry jars. I set my oven to 190 degrees F and put the jars on the rack to dry them after they have drained. This does not sterilize them, but rather keeps them sterile until filling time. It is necessary for your jars to be hot when filling them, so the oven kills two birds with one stone. Also, put your Mason lids in a saucepan and bring them to the simmer, not the boil. I do not recommend paraffin seals because they are fragile, but they do work.
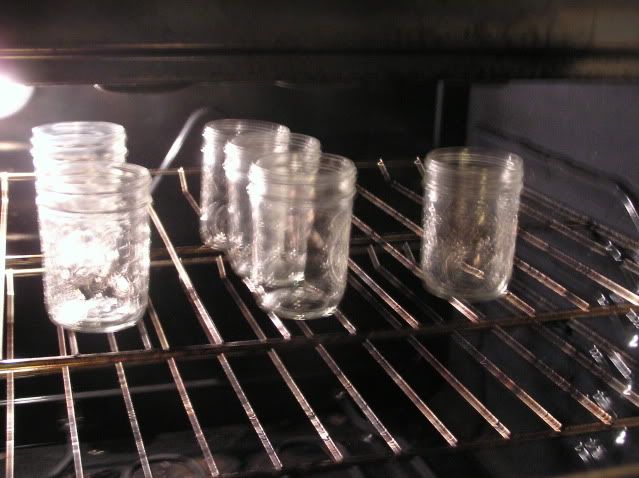
Jars in oven
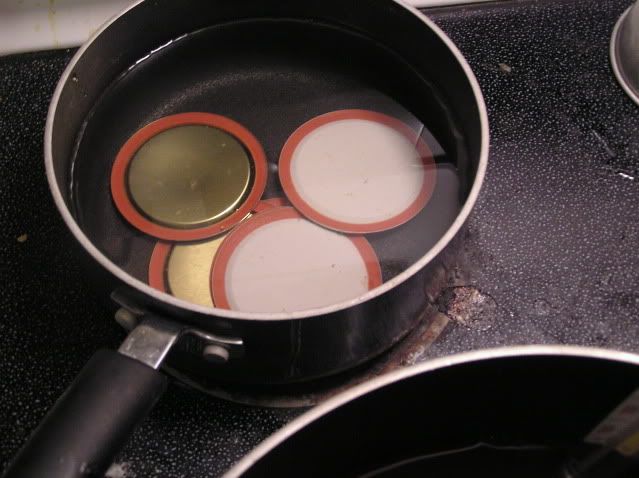
Lids simmering
Place the juice and the sugar in a stockpot or some such, the larger the better, and bring to the boil, stirring until the sugar is dissolved to that it does not scorch on the bottom. Jelly can be made in fairly thin cookware since it is very fluid whilst cooking. The trick is lots of surface area relative to volume to boil off the excess water. This is one of the reasons that eight cups is the maximum amount that I recommend trying to process.
You will see large bubbles from the boiling juice, and smaller bubbles of a foam that forms. Skim off as much of this foam as possible for the clearest jelly. The easy way is to turn down the heat for a minute. The bubbles from cooking collapse, whilst the foam does not and can be skimmed easily.
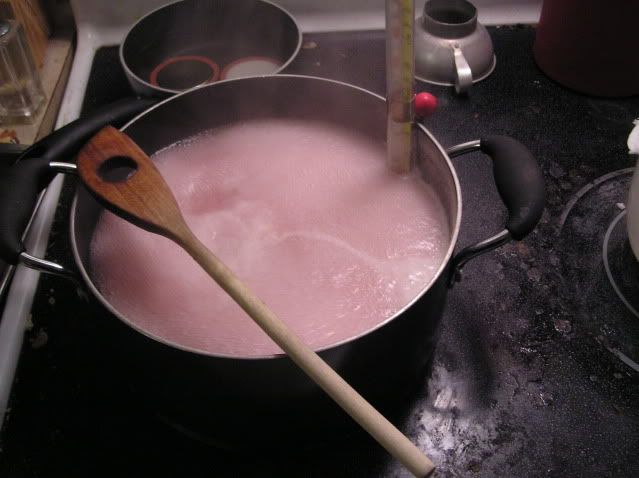
Boiling jelly
Foam to skim
Now, you need to think about the ultimate use for the jelly. Are you wanting to unmold it on a platter or smear it on soft bread? If you want to have it hold its shape when unmolded, cook it a little longer than if you want it soft enough to spread without tearing the bread. Personally, I like my jelly relatively stiff, and solve the bread tearing problem by using a spoon to remove thin layers of jelly from the jar and place them on the bread rather than smearing it, but that is my personal preference.
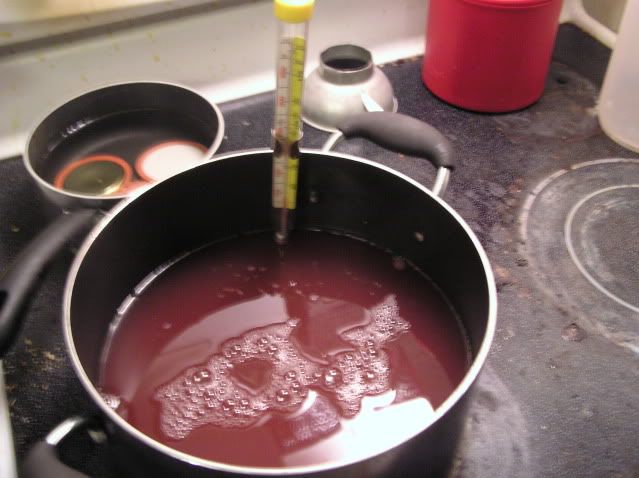
OK, back to boiling the soon-to-be jelly. Be careful or it will boil over, and it makes just an awful mess. It is better to take a little longer, and this is why I recommend using the largest vessel that you have. When is it done? There are two ways to tell. The most reliable method is to use a cooking thermometer. At my elevation and with my cooking thermometer, I never have a failure when the temperature reaches 221 degrees F. Your thermometer may not be as accurate (or inaccurate) as mine, and you are likely to be at a different elevation, so note the boiling point of pure water on your thermometer and add nine degrees F for jelly. If you want a softer jelly, add only eight degrees.
The other method is the jelly test. To do this, take a cold, metal spoon and dip out a little liquid (a really big spoon works better since it is not heated as much). Do not immerse the spoon in the hot liquid, just dip a little out with it. The idea is to cool the boiling liquid rapidly. Then wave the spoon around a bit away from the heat from the boiling liquid and then pour out some of it. If it just runs like water, keep on boiling. If it runs out in two streams of drops, you are getting close. When it begins to sheet off rather than run off, it is done. I prefer the thermometer method.
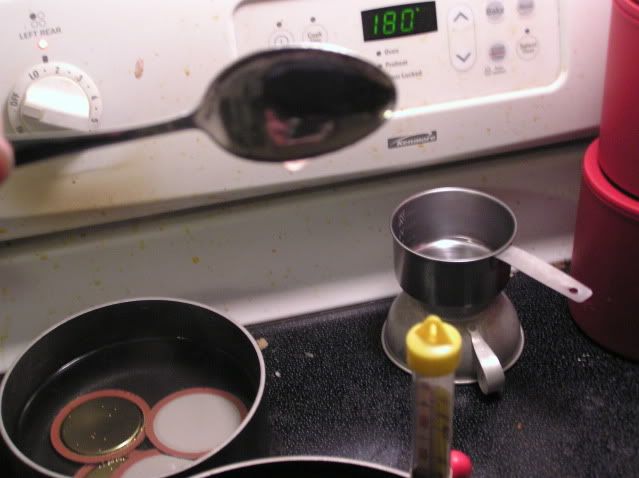
Jelly test
When the jelly is ready, remove it from the heat. Take a jar, place the canning funnel in it, and fill to within 1/2 to 1/4 inch of the rim. Headspace is not critical with jelly since you do not process it further. Wipe the rim with a damp paper towel, put a lid on, and screw the band hand tight. Repeat until you are out of jars or out of jelly. If you have a little jelly left over, let it cool a little and just pour it into a container, cover, and refrigerate for consumption within the next few weeks. I use plastic yogurt cups, hence allowing it to cool somewhat.
Filling a jar
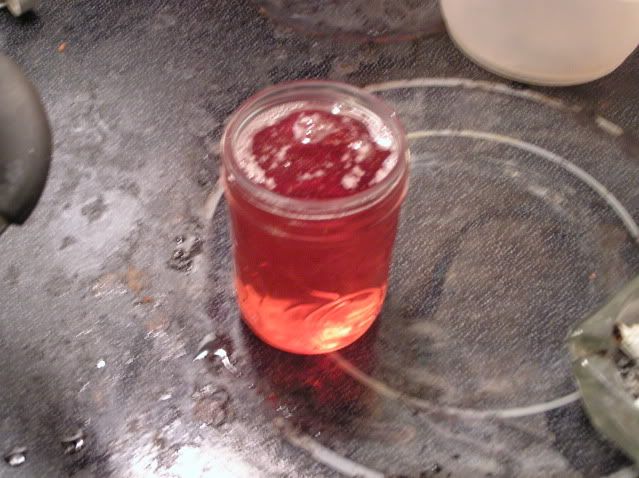
Full jar
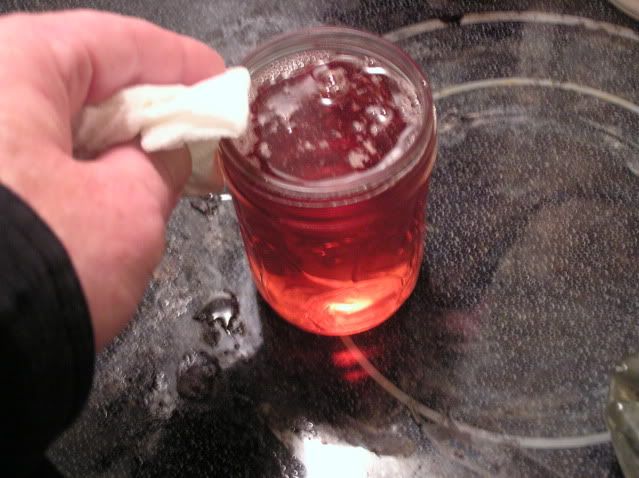
Wiping the rim
Jar with lid
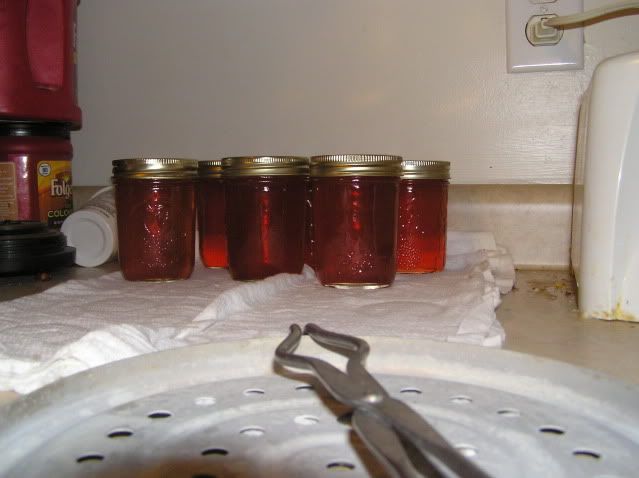
Jars with lids and bands
Allow the jelly to sit out of a draft until the lids seal. You will hear an unmistakable “ding” each time a lid seals. If you are out of the house whilst they seal, look and make sure that the lids are slightly concave and have a clear ring rather than a dull thud when tapped lightly with bowl of a spoon. If a jar does not seal, just eat that one first. Label the lids with contents and date (I just write on them with a black Sharpie). Store in a cool, dark place to preserve flavor and color.
Note that after filling, the jars are never processed further. This is different than with many canned items, but jelly and jams that are very fluid can be cooked fast enough to cook completely and be sterilized simultaneously, so processing is not required. This is why you must be extremely careful to assure that your jars and lids are sterile. With jelly, the only thing that you have to worry about is mold, so food poisoning is not really a factor. The high acid and sugar environment keep dangerous bacteria from growing, so it is hard to hurt yourself with jellies and jams that are very fluid when boiling. As I said earlier, commercially prepared jelly often never gets above 140 degrees F, so pasteurized juice and sterilized sugar is used with aseptic techniques.
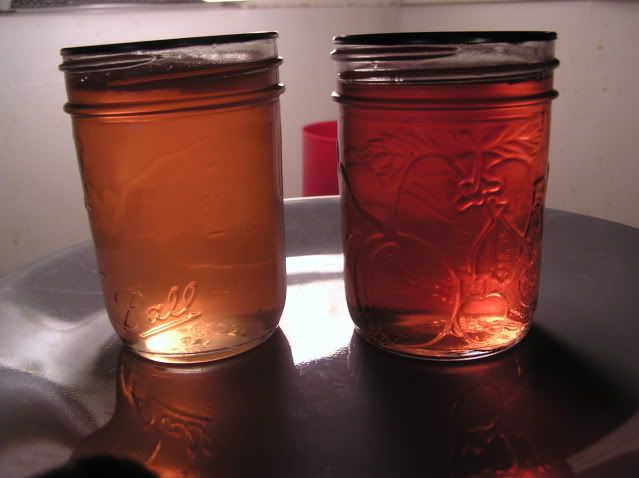
Jelly from fresh Magic Juice (left) and juice after overnight in refrigerator
Note that the bands have been removed. If you leave them on, they will rust and they do not contribute to the seal after the lid has sealed.
For very thick preserves, such as chutneys and some really thick jams, you can not boil them to sterilize them or they will stick and scorch. Remember the cooked parings and cores from which I separated the Magic Juice? I ran them through the Foley food mill to remove the skins and seeds and any other hard bits and got what essentially is applesauce. If you do much canning of fruit, a Foley mill is a wonderful tool.
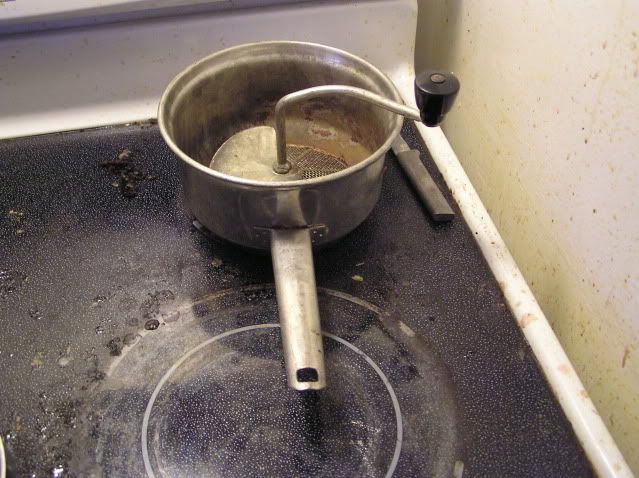
Foley Food Mill
This is a very old tinned steel one from my neighbors. The new ones are stainless steel, a much better material. In time the tin plating wears away, exposing fruit to iron, which darkens it.
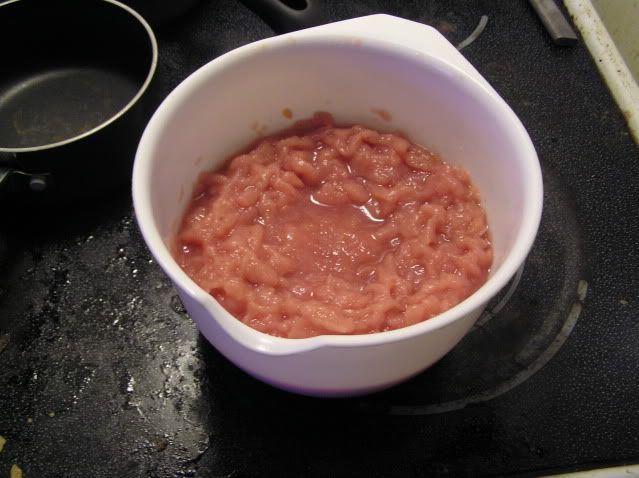
Applesauce
This can be chilled and eaten as is with a little sugar (most of the sugar is in the Magic Juice) or made into apple butter.
I took the applesauce and added 3/4 cup of sugar per cup of sauce in a heavy pan. You need a thick pan for thick preserves or they will stick and scorch. Next I added two teaspoons or cinnamon and one-half teaspoon each of ground nutmeg and allspice per quart of applesauce and gently heated it, stirring to dissolve the sugar. You have to be careful with thick preserves like this, and patience is essential. Slowly heat the butter until you get a cold plate test. That involves putting half a teaspoon of butter on a refrigerated plate and putting it back in the cold. Check in 10 minutes and if liquid separates, keep heating. Once that there is no separation, the butter is ready to can. It takes low heat and quite a bit of time, because butter is so thick that, no matter how much you stir, will “plop” unless a very low setting is used.
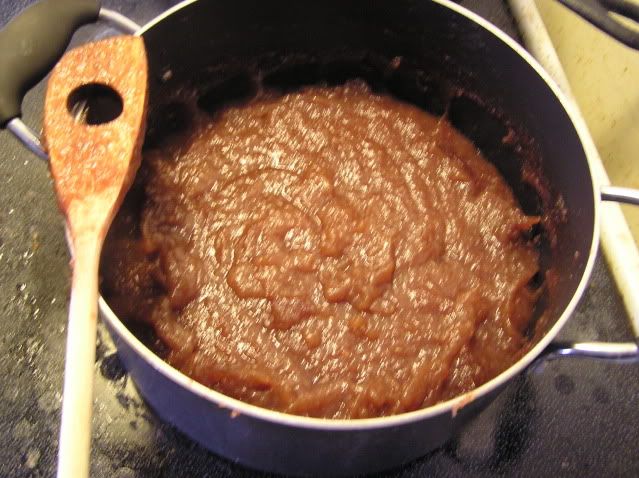
Cooked apple butter
Note that the spices darkened it.
This also makes it impossible to sterilize such thick preserves by open boiling, so these materials have to be processed. A water bath canner does the trick. You do not have to run out and buy anything special, just a large stockpot with a tight lid is fine, but you do not want a complete seal. We are NOT pressure canning. If you pot has no lid, a large pizza pan will do. You do have to make provision to elevate the jars slightly off the bottom of the vessel or they will have steam pockets form under them and tilt them over or even break them. I sue a perforated metal plate from my pressure cooker, but other things work. You can even wire together seven screw bands in a pinch. There just has to be some way to prevent steam from accumulating under the jars.
My water bath canner is my ancient “Waterless Cooker Grand” that was my grandm’s (the canning funnel, jar lifter, and many of the jars that I use were hers). You can see it without the lid to get a look at the elevation rack, and then with the lid attached. Note the vent button on the lid.
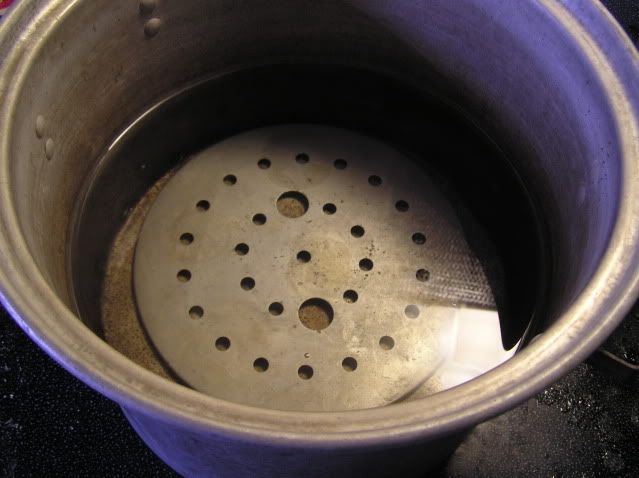
Water bath processor with elevation plate
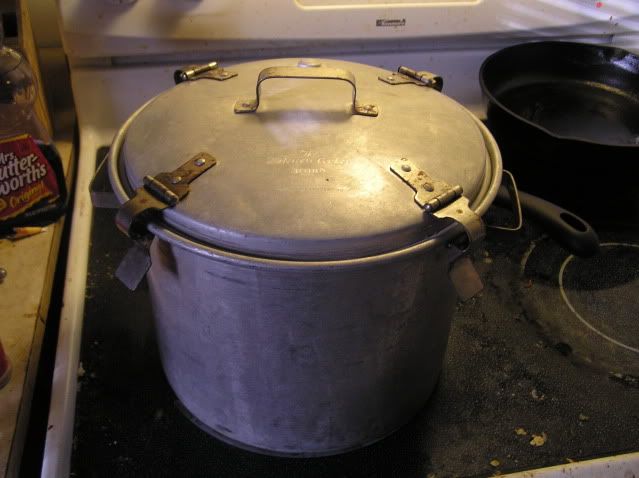
Assembled water bath processor
The steps for sterilizing the jars and lids are the same as for jelly, except that you can use a clean towel to dry the interior of the jars if you wish. They still need to be hot before filling to prevent breakage, so I just used the oven again. It is important to allow 1/2 inch of headspace between the fill level and the rim of the jar since it is going to be heat processed.

Headspace
Fill the water bath canner as full as you think that it needs to be so that when the jars are added around an inch of water will cover the entire jar, lid and all. Bring the canner to the simmer before you start filling jars. Butter is not nearly as unforgiving as jelly, so you can keep it warm whilst the water in the canner heats without ruining it. Fill the jars, wipe the rims, and attached the lids and bands just like for jelly. Use the jar lifters to put the jars in the hot water in the canner, then bring it to the boil. You really need jar lifters, as even waterproof hot gloves do not work well with slippery, wet jars, and dropping one guarantees a mess.
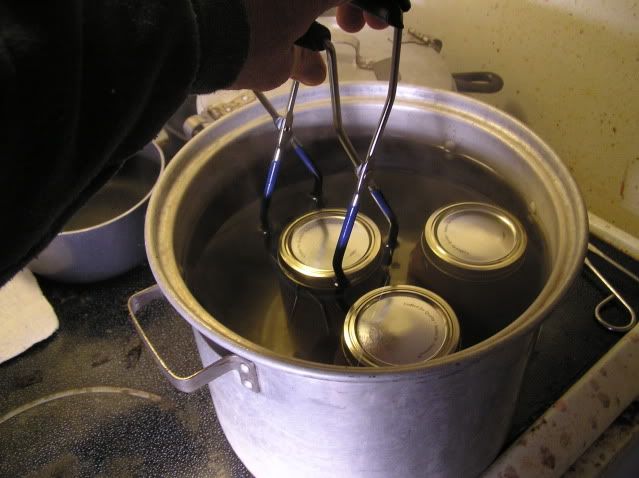
Lifting jars
Once the canner comes to a gentle boil, attach the lid and adjust the heat to a gentle, not roiling, boil, but more than a simmer. You want 212 degrees F at sea level, not 180 degrees F which is a simmer. Process for 30 minutes (half pints and pints) or for 45 minutes (quarts), keeping the water boiling all the while. My canner is nice because I can hear the vent button tap. After the required time, turn off the heat and open the canner, taking care not to scald yourself. Allow the jars to sit in the open canner for five minutes, then lift them out and allow to seal in a draft free place. I like to use a towel under them.
After the jars seal, remove and wash the bands for another day. Date and label the lid, and you are good to go. If a jar does not seal, either reprocess it of eat it first.

Finished butter
I thought that I was done with apples this year until I found these growing by the side of a major traffic artery here in the Bluegrass.
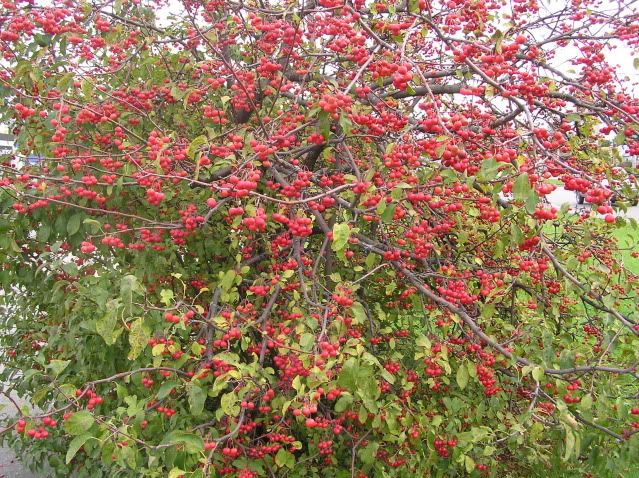
Crabapples
This tree was loaded! The crabapples hung like bunches of grapes, and in 20 minutes I had picked four gallons. I used some of them for Magic Juice and jelly, but the most cosmetically perfect ones I used for spiced crabapples, a sweet/sour treat that goes well with savory dishes like roast meat or fowl, much like cranberry sauce.
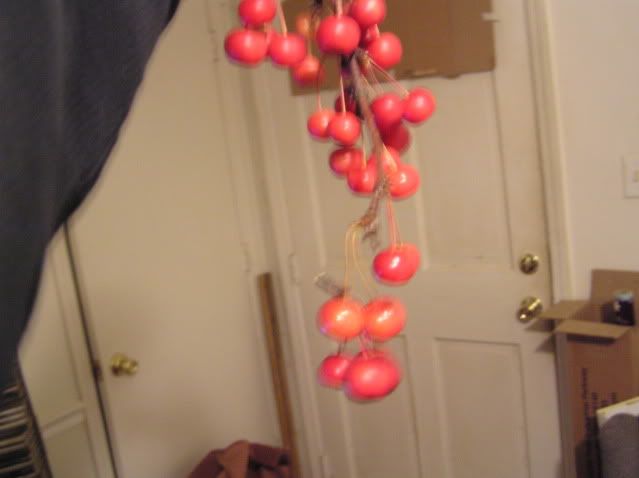
Twig of crabapples
Usually I just rinse fruit that I pick, but my hands were grimy after I picked these, because of the major traffic artery and its associated dust, soot, and other stuff. These apples I washed in very warm water with dishwashing detergent, then rinsed them well. The stems are so thin that they can be kept on and still run through the Foley mill, which is a good thing, as the thought of destemming thousands of fruit was daunting. I did not make any butter because I have enough, so none were even milled.
What I did make is these:
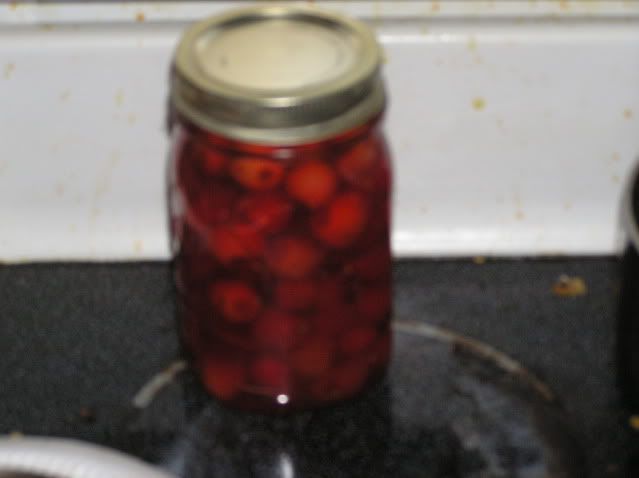
Spiced crabapples
To make these, select the nicest ones and leave on the stems. First I took five cups of sugar, three cups of white vinegar, and one cup of water and mixed them in a heavy pan. I tied up three sticks of cinnamon, one tablespoon of whole cloves, and a finely sliced up lemon in a cheesecloth bag and boiled it in the vinegar/sugar mixture for about 10 minutes to extract the flavor, then let it cool to about 160 degrees F. Then I added the washed apples and very slowly brought the mix to 180 degrees F. Do not make it hotter or the apples will burst. After 10 minutes at 180 degrees F, I put them is sterilized pint jars, covered them with the vinegar syrup, and processed them at 180 degrees F in the water bath for 10 minutes. After a week or so they are excellent and most of the core softens so that it can be eaten. This recipe is taken from Euell Gibbons, in modified form, from his marvelous Stalking the Wild Asparagus.
I need to make a correction, or rather a clarification, to something that I said in last Sunday’s Pique the Geek. I clumsily said that as black walnuts cure out that the skin of the nutmeat darkens. That is not correct. It becomes more brownish rather than greenish, but not really darker. In fact, nutmeats with dark skins are bad.

Black walnut meats
Note the one bad one, still in the shell, near the top of the picture. The rest are good, clean nutmeats that I have picked out over the past couple of days.
I appreciate the chance to host What’s for Dinner tonight. Please bombard me with questions or comments about jellies and other preserves, or other home canning topics. I will be back on 05 December to post a photoessay about holiday goodies that I make for the family and to give to friends. And do not miss Pique the Geek tomorrow, and I have no idea about the topic, but not food or cooking. Suggestions are welcome.
Warmest regards,
Doc
Crossposted at Dailykos.com
9 comments
Skip to comment form
Author
seasonal goodies?
Warmest regards,
Doc
I remember my Mom and my grandma doing this. The best jelly EVER was the homemade stuff from fresh strawberries. Wow.
Very cool. At one time in my childhood I lived in a house with these old apple trees, about a dozen of them, and it made more apples than we knew what to do with. We’d make applesauce and jelly and everything else, and even load up the trunk with the fallen apples to feed to my grandparent’s pig, up on the farm.
Nothing quite like that smell, of the the apples.
i never understood the apple pectin thing until i read this. i’ve always used sure-jel.
have you ever made muscadine jelly?
any tips?
entertaining writer! I used to do a lot of canning and preserving, but I haven’t done so for at least 15 years. Your instructions are very similar to those that were taught in Home Economics classes many years ago. However, it was much more fun hearing you teach it.
Wrong way to do things
http://www.naturalnews.com/027…
http://www.google.com/search?h…
http://www.globalresearch.ca/i…